How to upload Nintendo Switch screenshots to Google Drive, Dropbox, and thousands of other apps
- Get link
- X
- Other Apps
Nintendo makes it easy to take screenshots and videos of your games, then share Switch screenshots and videos to Facebook and Twitter. But why only those two services? There's no official way to upload images to cloud storage services, like Google Drive or Dropbox. The only other way to transfer images and videos to your computer is using a MicroSD card, like some kind of cave person.
This is completely unacceptable. You can wait for Nintendo to fix this, or you can take action now. There's an unofficial way to automatically back up Nintendo Switch screenshots to Google Drive, OneDrive, Dropbox, and other cloud services—one discovered by my genius friend and colleague Joe Deer. Basically you need to:
- Create a dummy Twitter account
- Connect that Twitter account to your Nintendo Switch
- Set up a quick automation that grabs all screenshots and videos from Twitter and uploads them to your favorite cloud storage
The first two steps are simple, and we can make the last one simple too. Zapier can connect Twitter to thousands of other apps, including most of the major cloud storage providers. A simple automation can grab screenshots and videos from Twitter and save them wherever you like. This Zap, created and shared by Joe himself, guides you through the process for Google Drive, but keep reading to learn how to set it up with other apps, like Dropbox or even Discord.
Now let's walk through the whole process.
Create a dummy Twitter account
First, head to Twitter to create a dummy account.
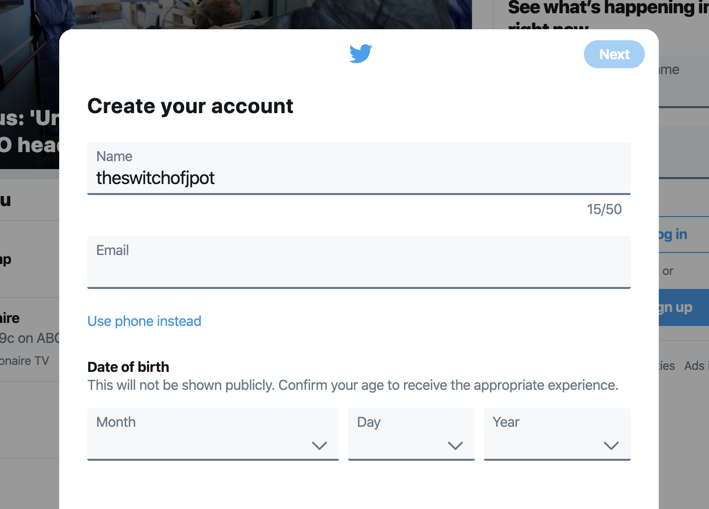
You could use an existing Twitter account, if you want, but only if you're fine tweeting every screenshot you'd like to save. Come to think of it, don't do that.
Connect that Twitter account to your Nintendo Switch
Next we need to link this Twitter account to your Nintendo Switch. Head to the Gallery on your Switch, then try to post a screenshot. You will be asked to sign in to your social media accounts.
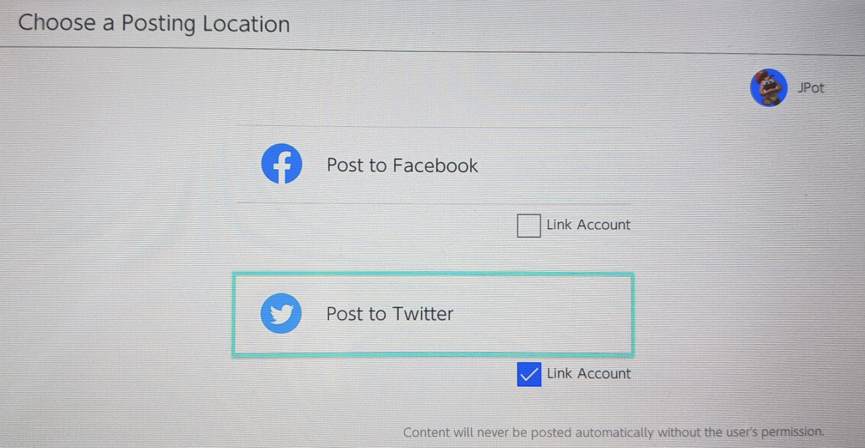
Select Post to Twitter, and you can sign in to your new Twitter account.
Note: You can plug a keyboard into the Switch to type your password, if typing using the on-screen keyboard sounds annoying. There are two USB ports in the Switch's dock, or you can plug directly into the USB-C port if you have an adapter.
You should now be able to upload your screenshot.
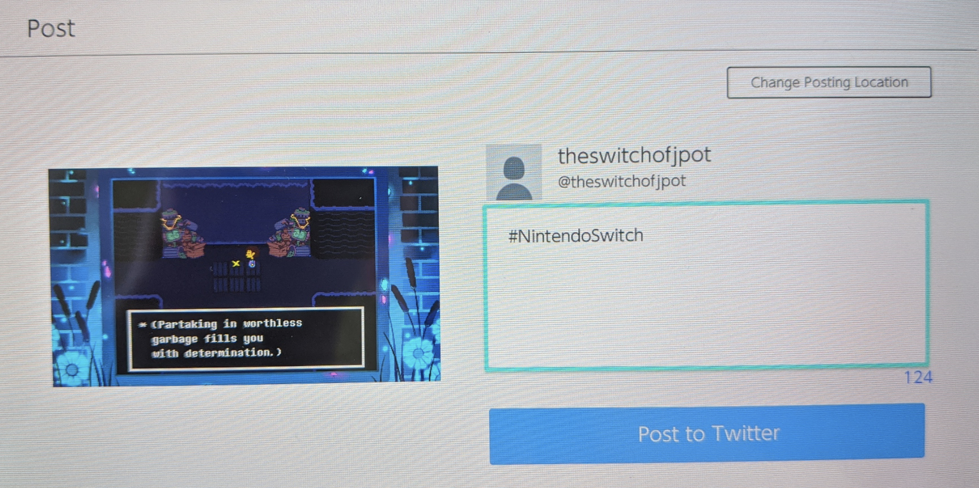
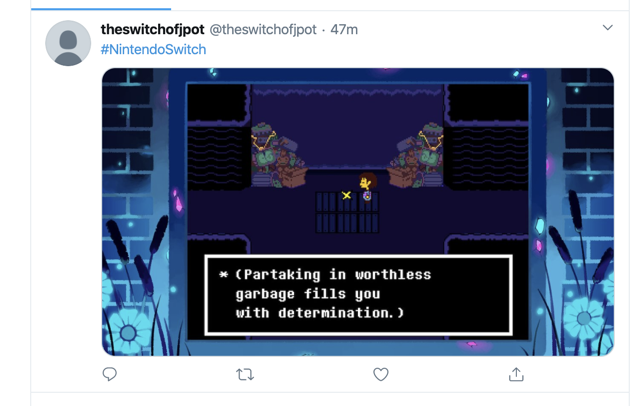
Select Post to Twitter, then head to your dummy Twitter account to make sure it posted.
Set up a Zap to automatically back up Nintendo Switch screenshots to cloud storage
Now you're ready to set up your automation. You can use the shared Zap from above if you want to send your images to Google Drive, or you can connect to any of dozens of cloud storage apps including Dropbox, OneDrive, Box, and more by following the instructions below.
Create a free Zapier account if you don't have one, and then click Make a Zap.
First, you'll choose Twitter as your app.
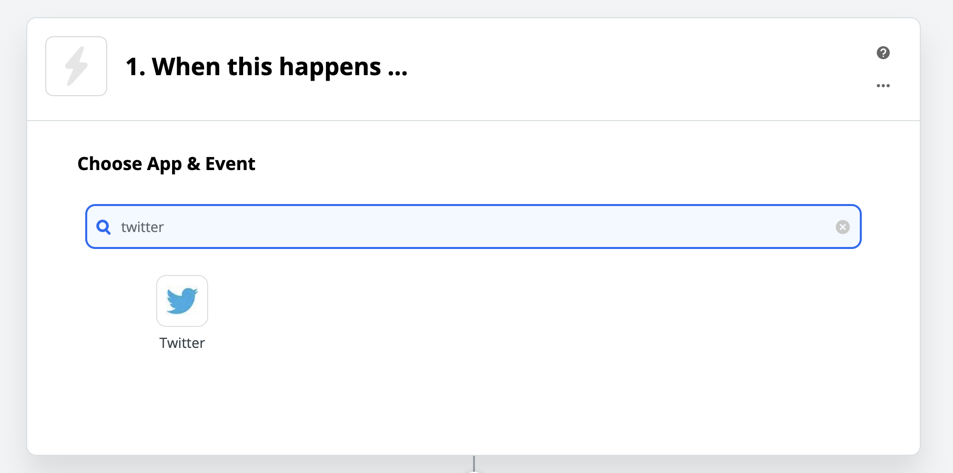
Choose My Tweet as the trigger event, then click Continue.
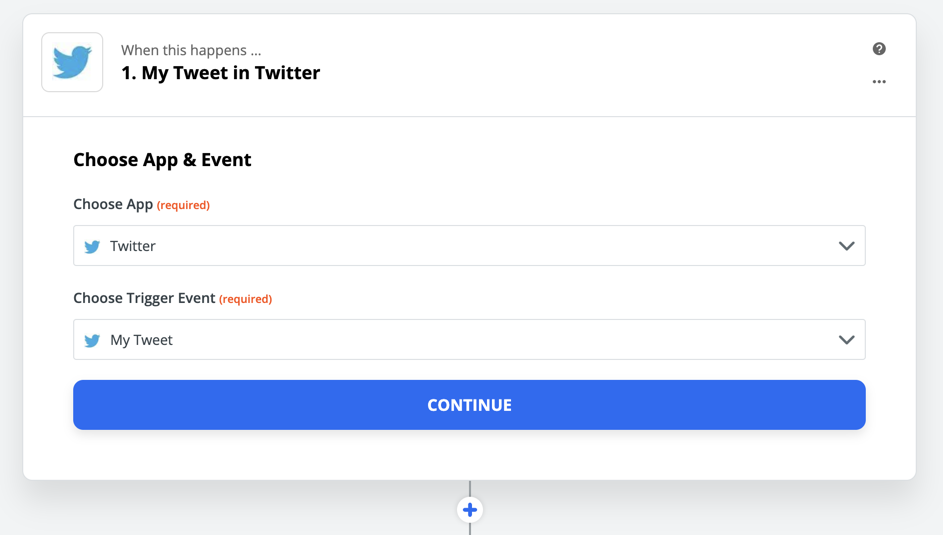
You will be asked to sign in to your Twitter account, after which you can set up the next step. Choose which app you'd like to upload your screenshots to. I'm using Google Drive in this example.
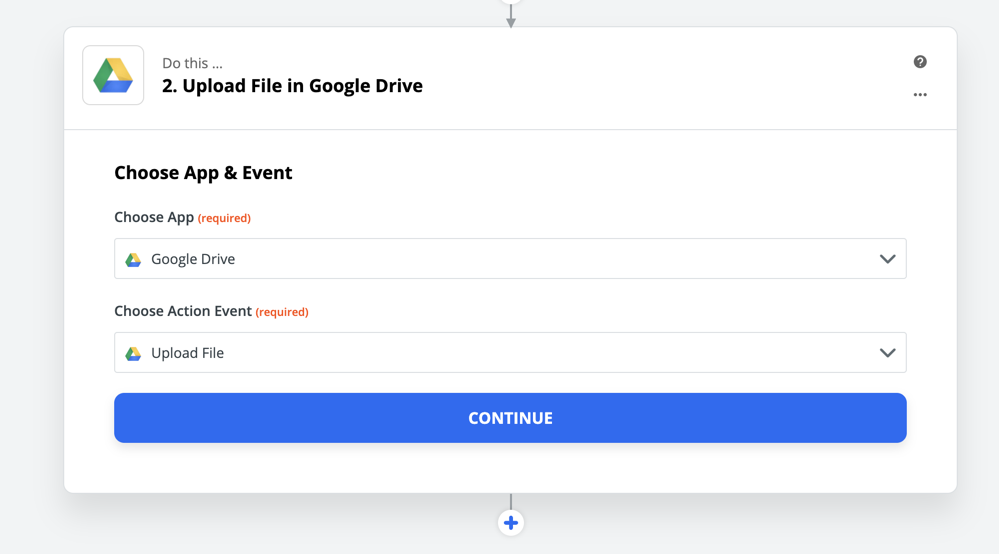
You will be asked to sign in to your cloud storage provider. After that, you can choose where your file should be uploaded.
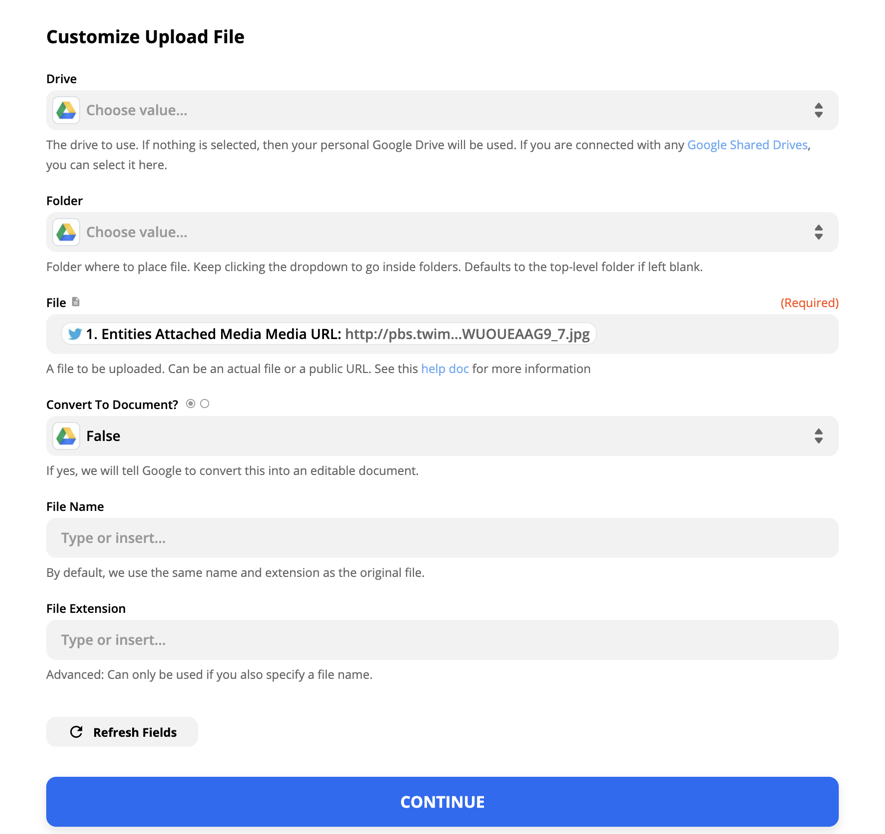
You can choose to put you screenshots in any folder you want. Just make sure that in the File field, you've selected Entities Attached Media URL from the dropdown.
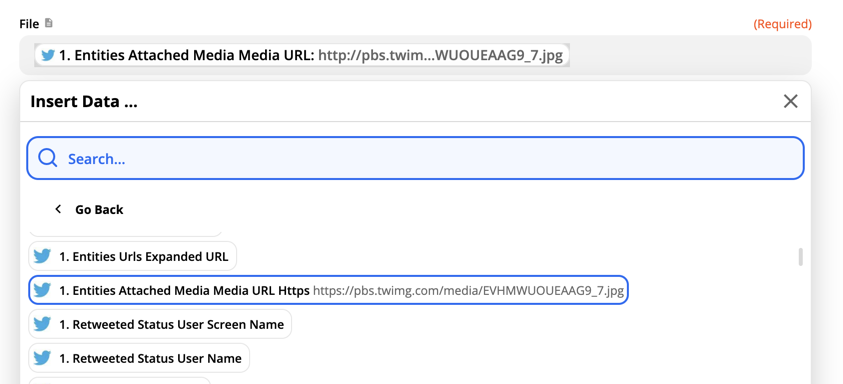
Click Continue when everything looks good. You will be asked to test your Zap, at which point the first screenshot or video you shared should show up in your cloud storage service of choice.
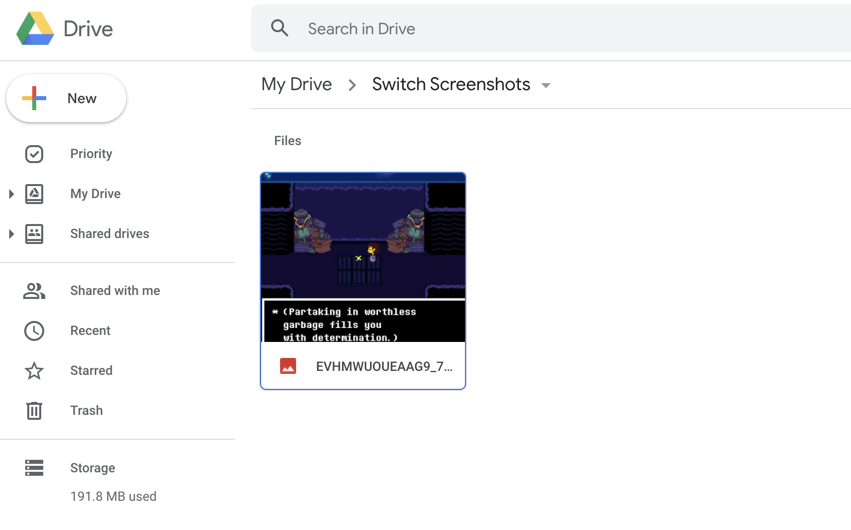
This works with any service supported by Zapier, which includes Google Drive, Dropbox, Box, and Microsoft OneDrive. Or you could automatically post your Switch images to messaging apps, like Discord or Slack. Until Nintendo offers integrations with all of these services, this workaround gets the job done.
from The Zapier Blog https://ift.tt/2RmwGVW
- Get link
- X
- Other Apps
Comments
Post a Comment