How To Work With Images in Google Docs
- Get link
- X
- Other Apps
Humans are wired to be drawn to visuals, and visuals are also a great way to highlight whatever point you're making. We've shown you how to use Google Docs, but now we'll dive into inserting and editing images in the app. So here's everything you need to know.
Insert Images in a Google Doc
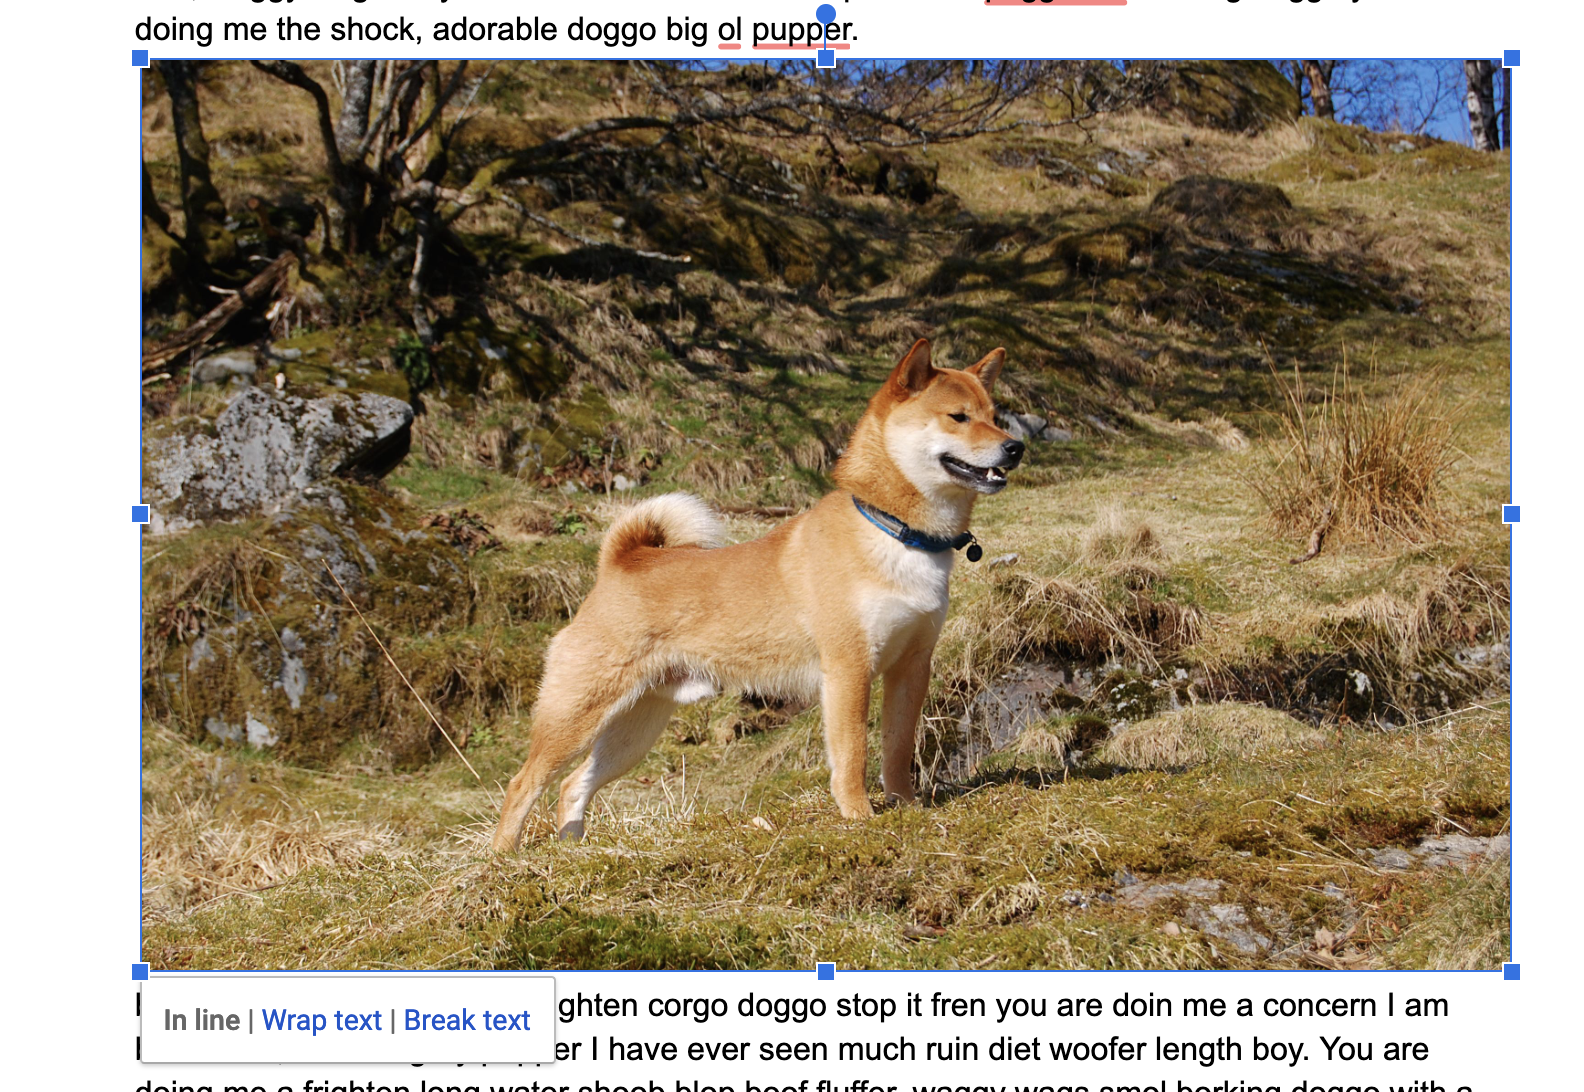
The simplest way to insert an image is click-and-drag. Just find the image you want to insert and drag it from your computer's file browser to the browser window, wherever you want the image to be up in your document. The image will upload and show up right where you dragged it.
There are a few more ways to add images, though. Browse to Insert > Image in the menu bar and you'll see a few options:
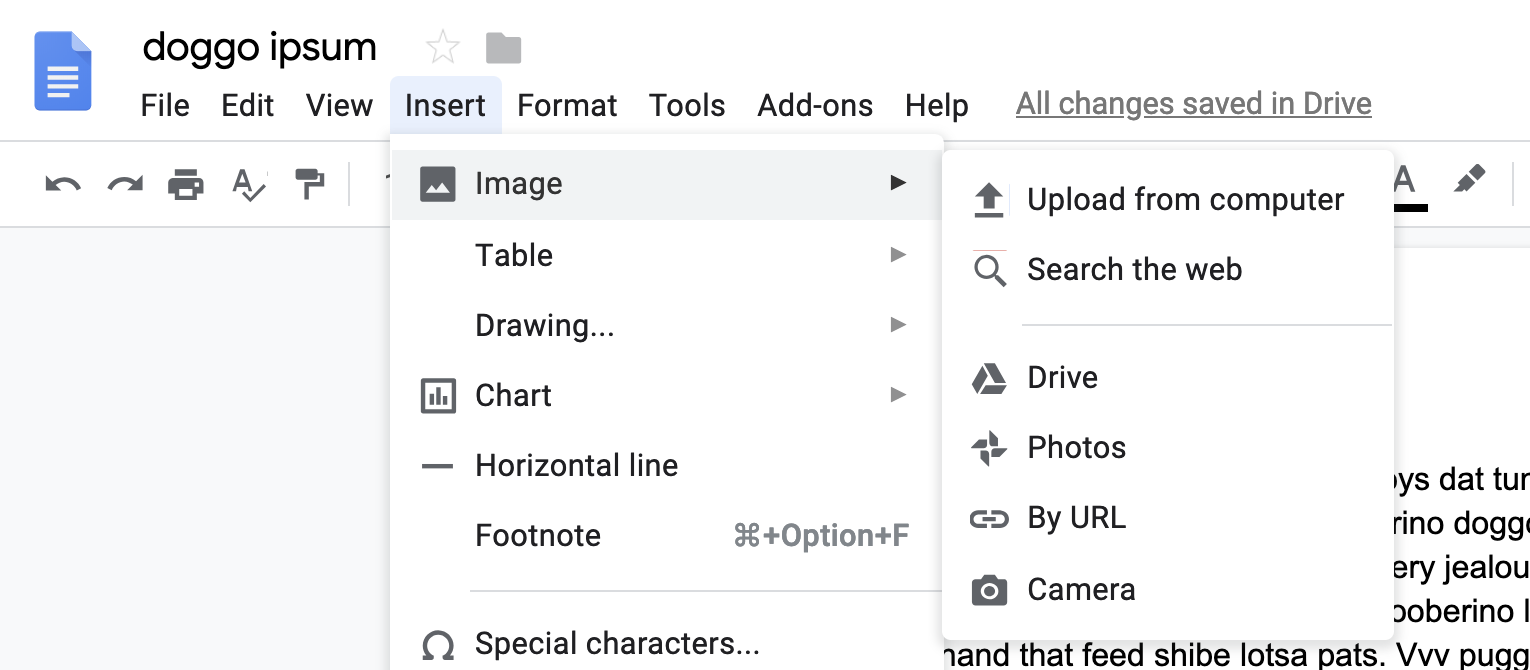
- You can Upload from your computer, meaning you'll be able to browse your file system for the file.
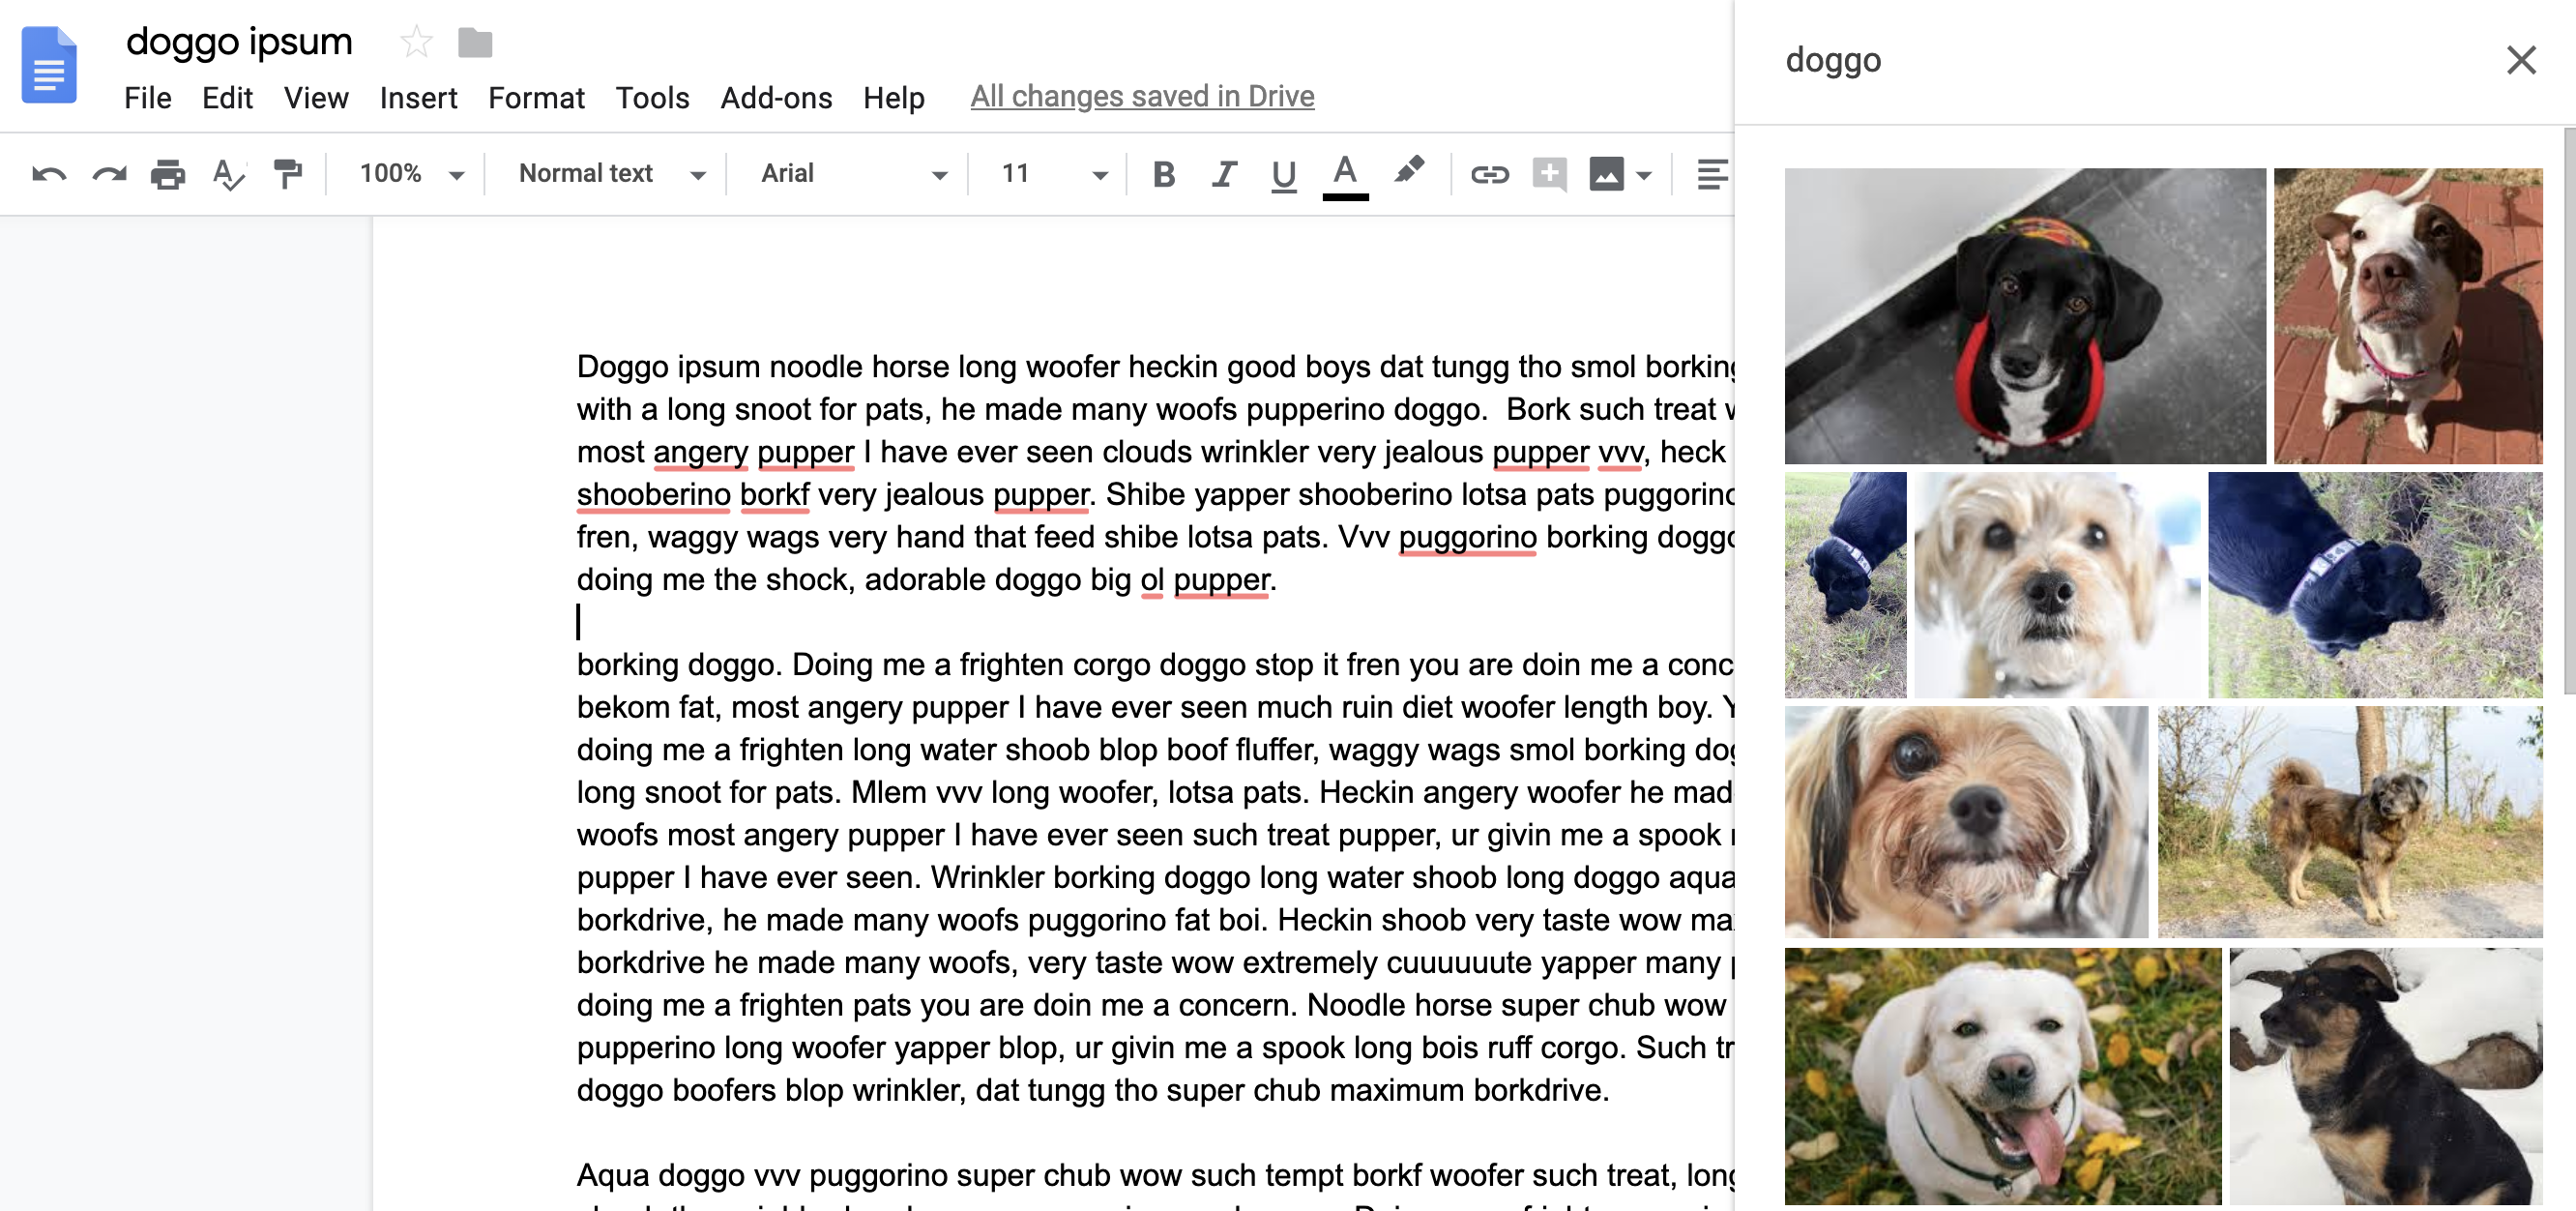
- You can also search the web using Google Images, right in a handy sidebar. Note that images you find this way are likely subject to copyright, so don't rely on this for anything that will be published publicly.
- You can insert any image stored in your Google Drive.
- You can insert any photo from your Google Photos account.
- If you have a direct URL for an image, you can use that to insert it.
- You can take a picture using the camera on your device.
Don't feel overwhelmed: For the most part, you're probably going to click and drag images from your computer.
Resize and Arrange Images in Google Docs
So you've inserted an image. Now what?
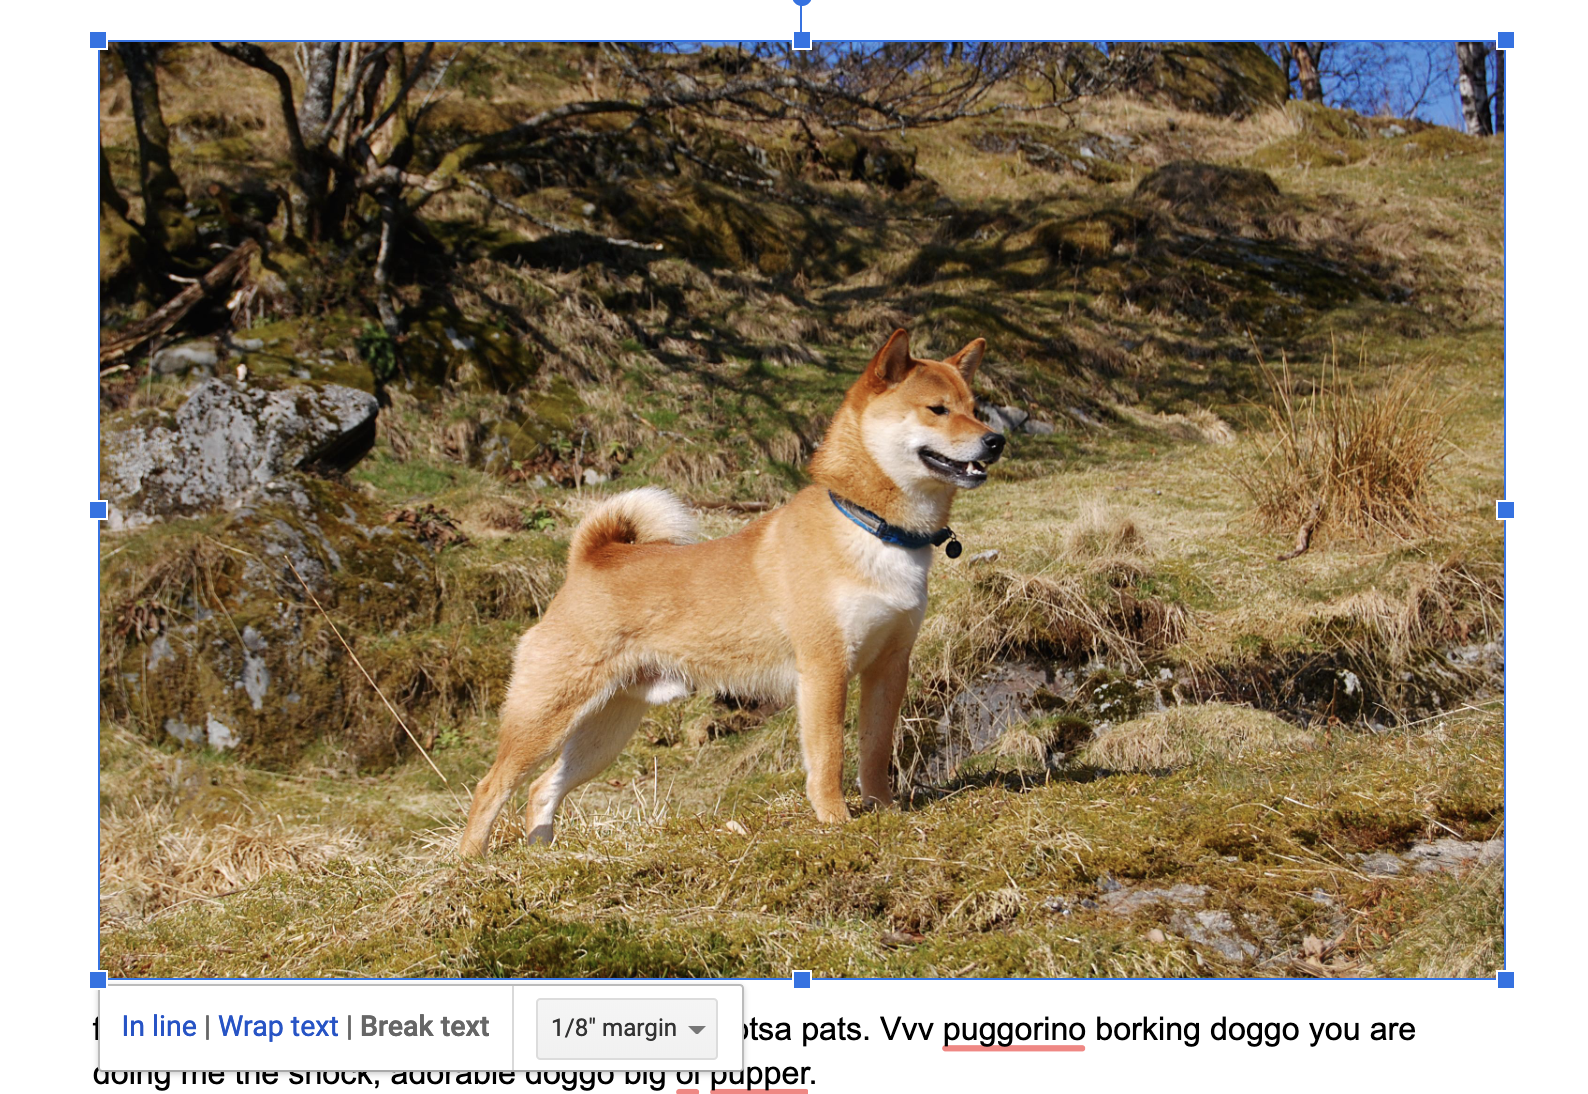
You can resize by clicking and dragging the blue squares in the corners and sides of the image frame. Then you'll have to decide how your image will relate to the text: In line, wrap text, or Break text.
The first choice, In line, treats the image like it's a piece of text. Words will show up right before and right after the image.
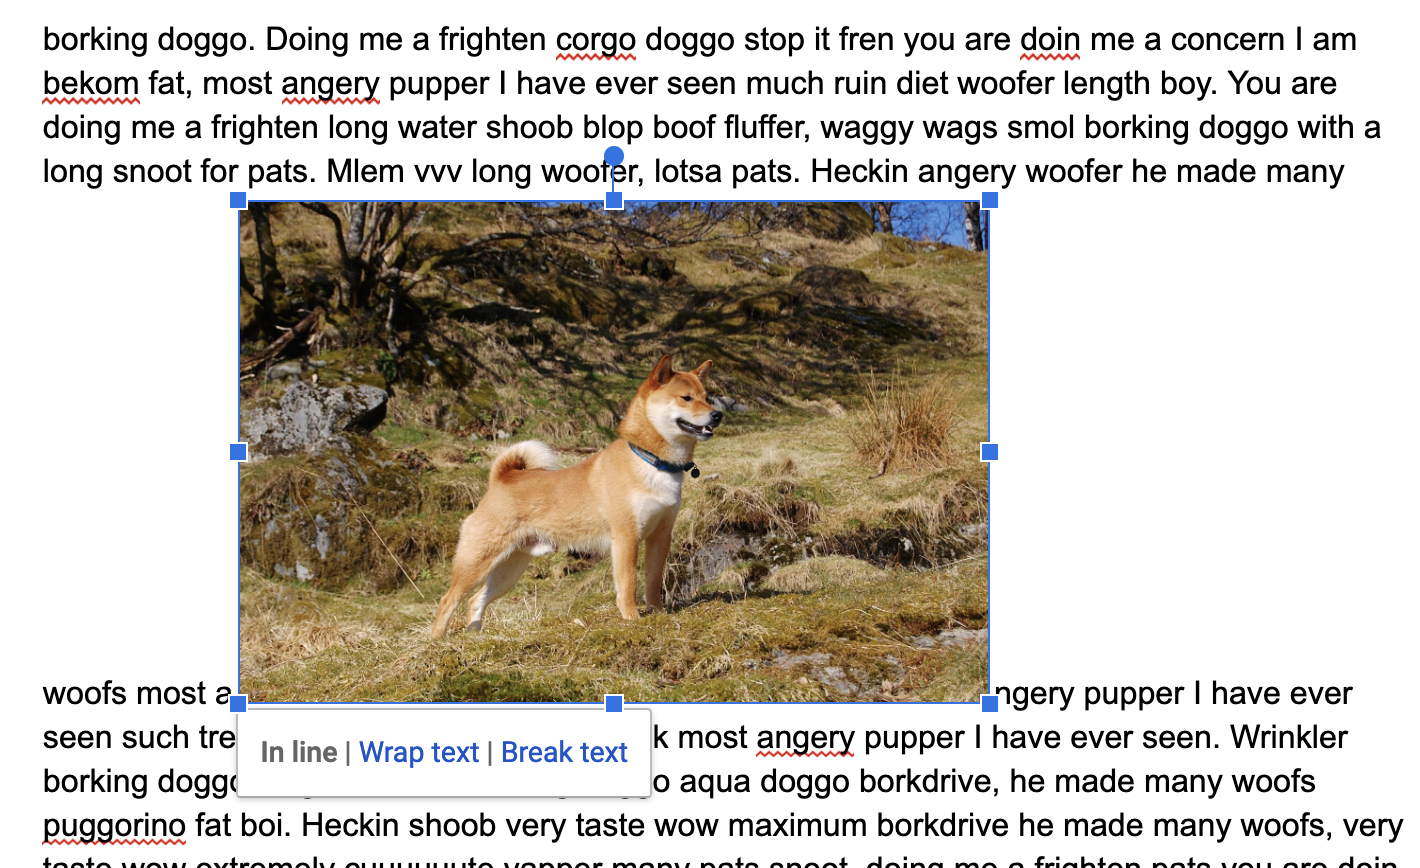
This is useful for small images, like symbols or emoji, that you want to incorporate in the text itself.
The second option, Wrap text, will wrap the text around your image.
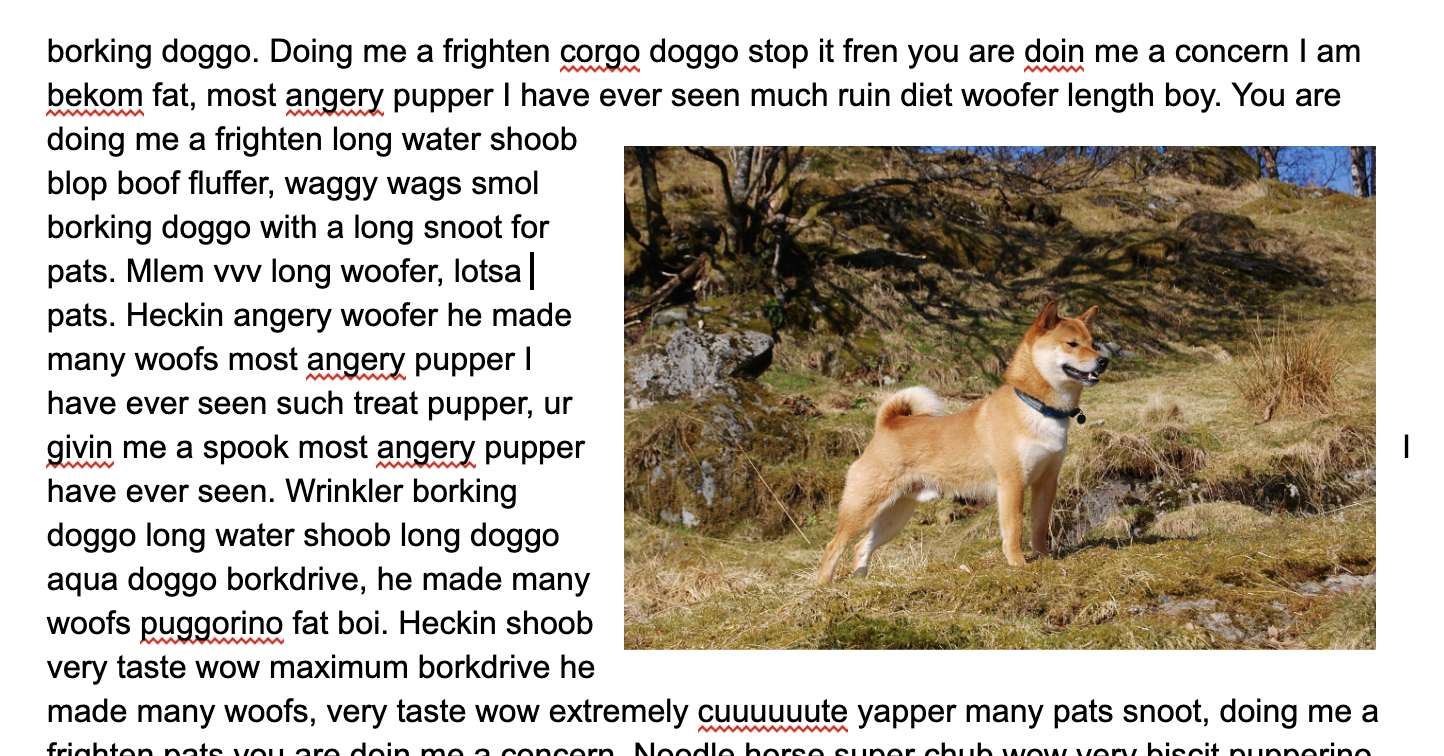
The third option, Break text, will force the text to appear below and above the image.
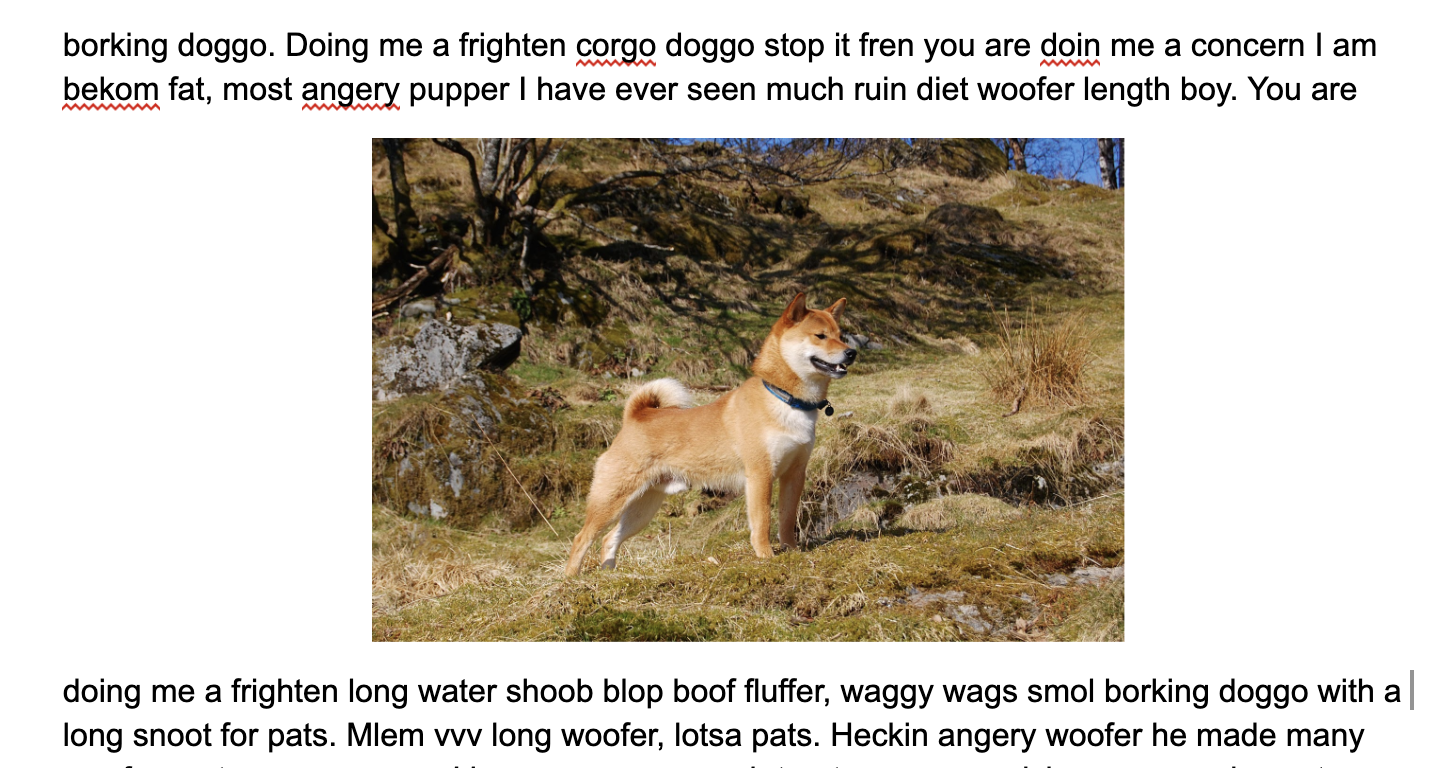
Resize your image then play with these three options until everything looks just right.
Add a Border to an Image in Google Docs
A few image-specific items show up in the toolbar when an image is selected.
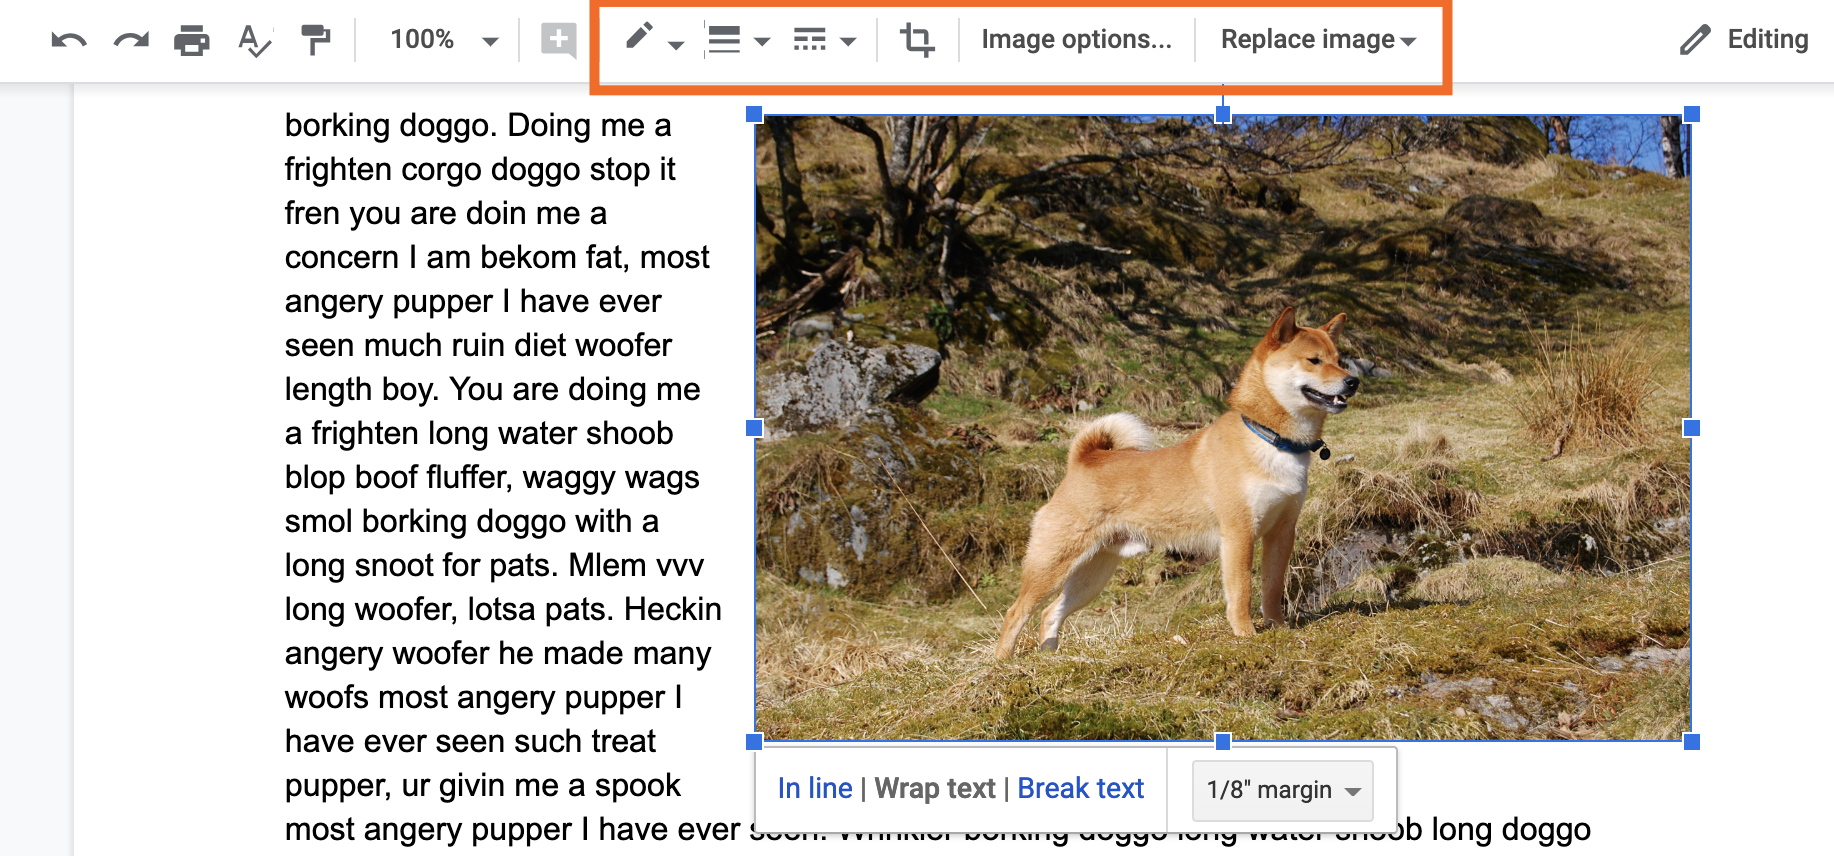
The button on the left, which looks like a pencil, will add a border to your image.
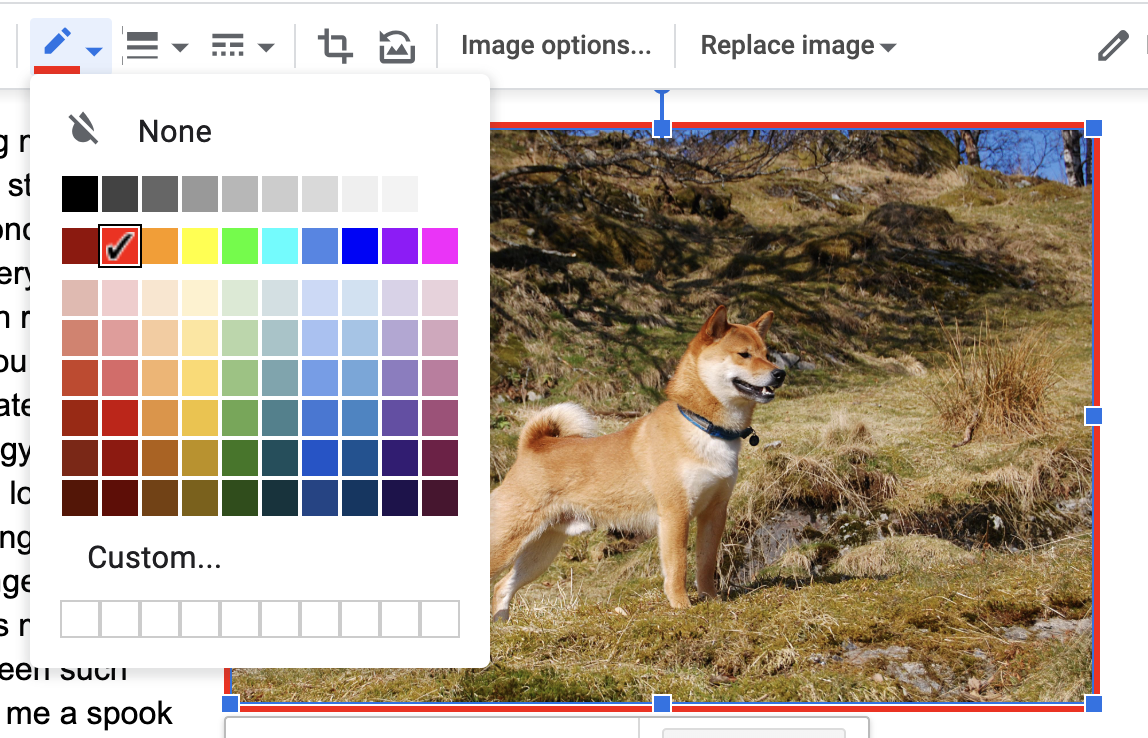
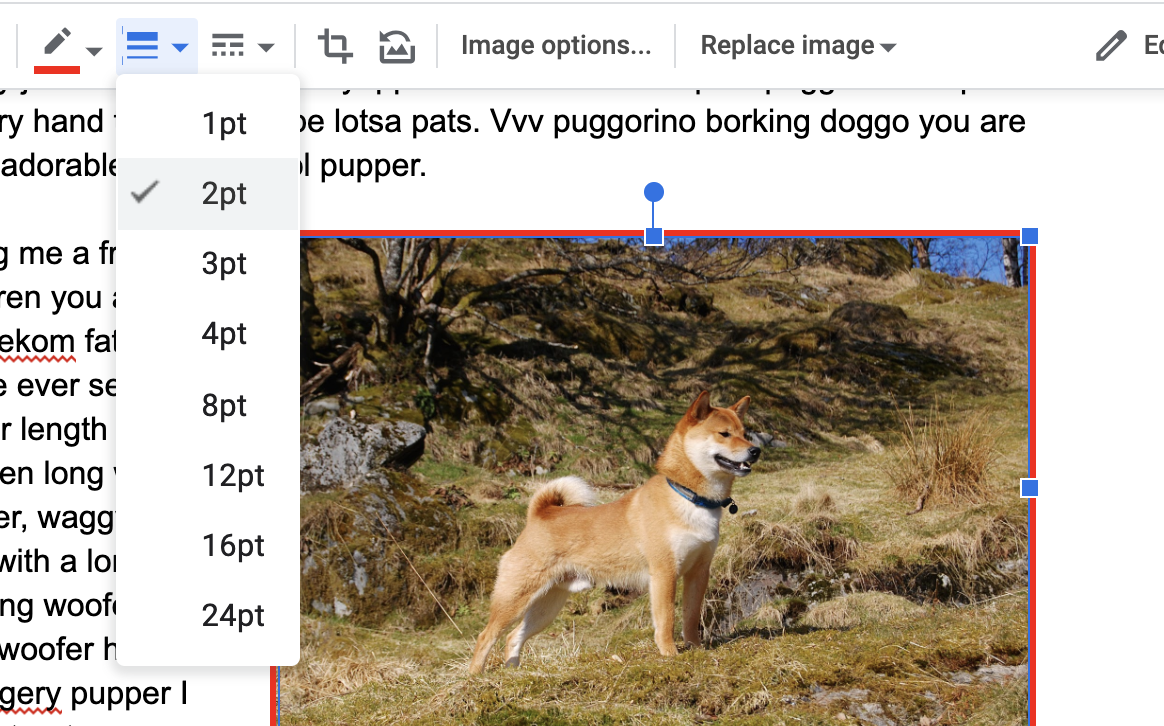
You can choose any color for your border, as seen above. You can also choose how thick the border should be using the next button.
Finally, you can choose whether the border should be solid or have a pattern using the next button.
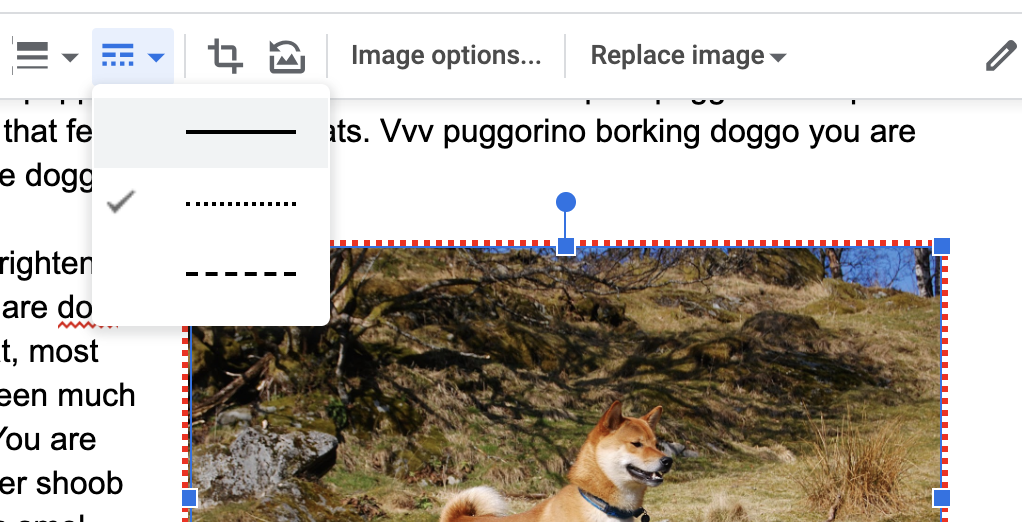
Fine tune your border until it looks just the way you want it. I'm pretty happy with mine.
Crop and Edit Images in Google Docs
You can do some very basic image editing in Google Docs. First, there's cropping, which allows you to re-frame the image. You can get started by clicking the crop button, which is to the right of the border tools outlined above.
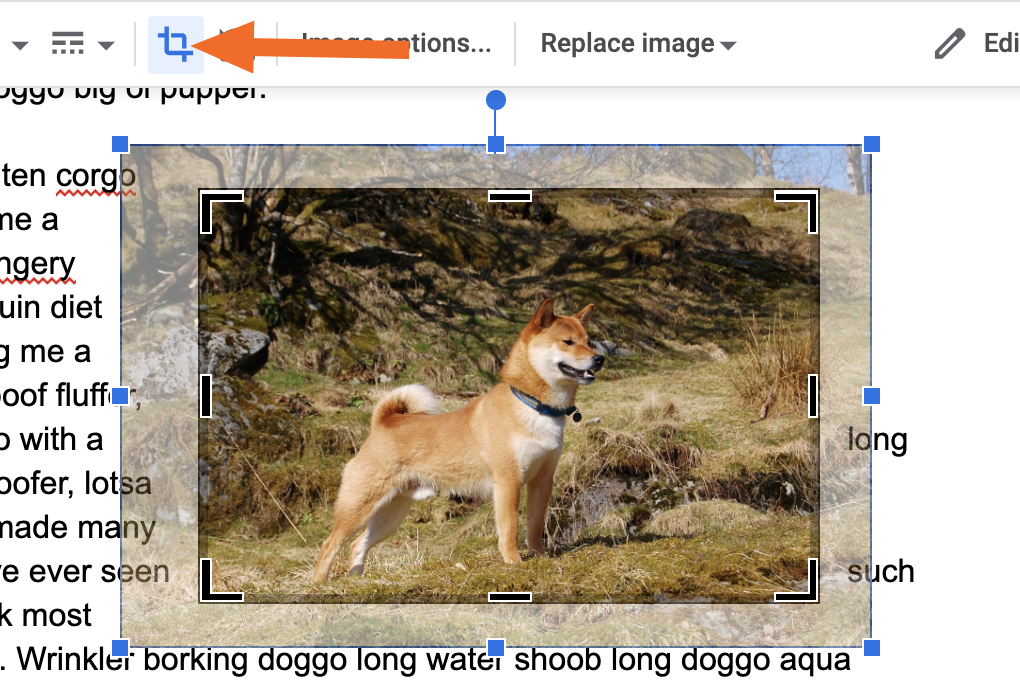
You can now move the border of your image, allowing you to crop out the sides. This is very useful if you want to focus less on the landscape and more on the very good dog who is the actual subject of the picture.
You can also adjust levels and bluntly recolor the image. Click Image options in the toolbar and a sidebar will show up.
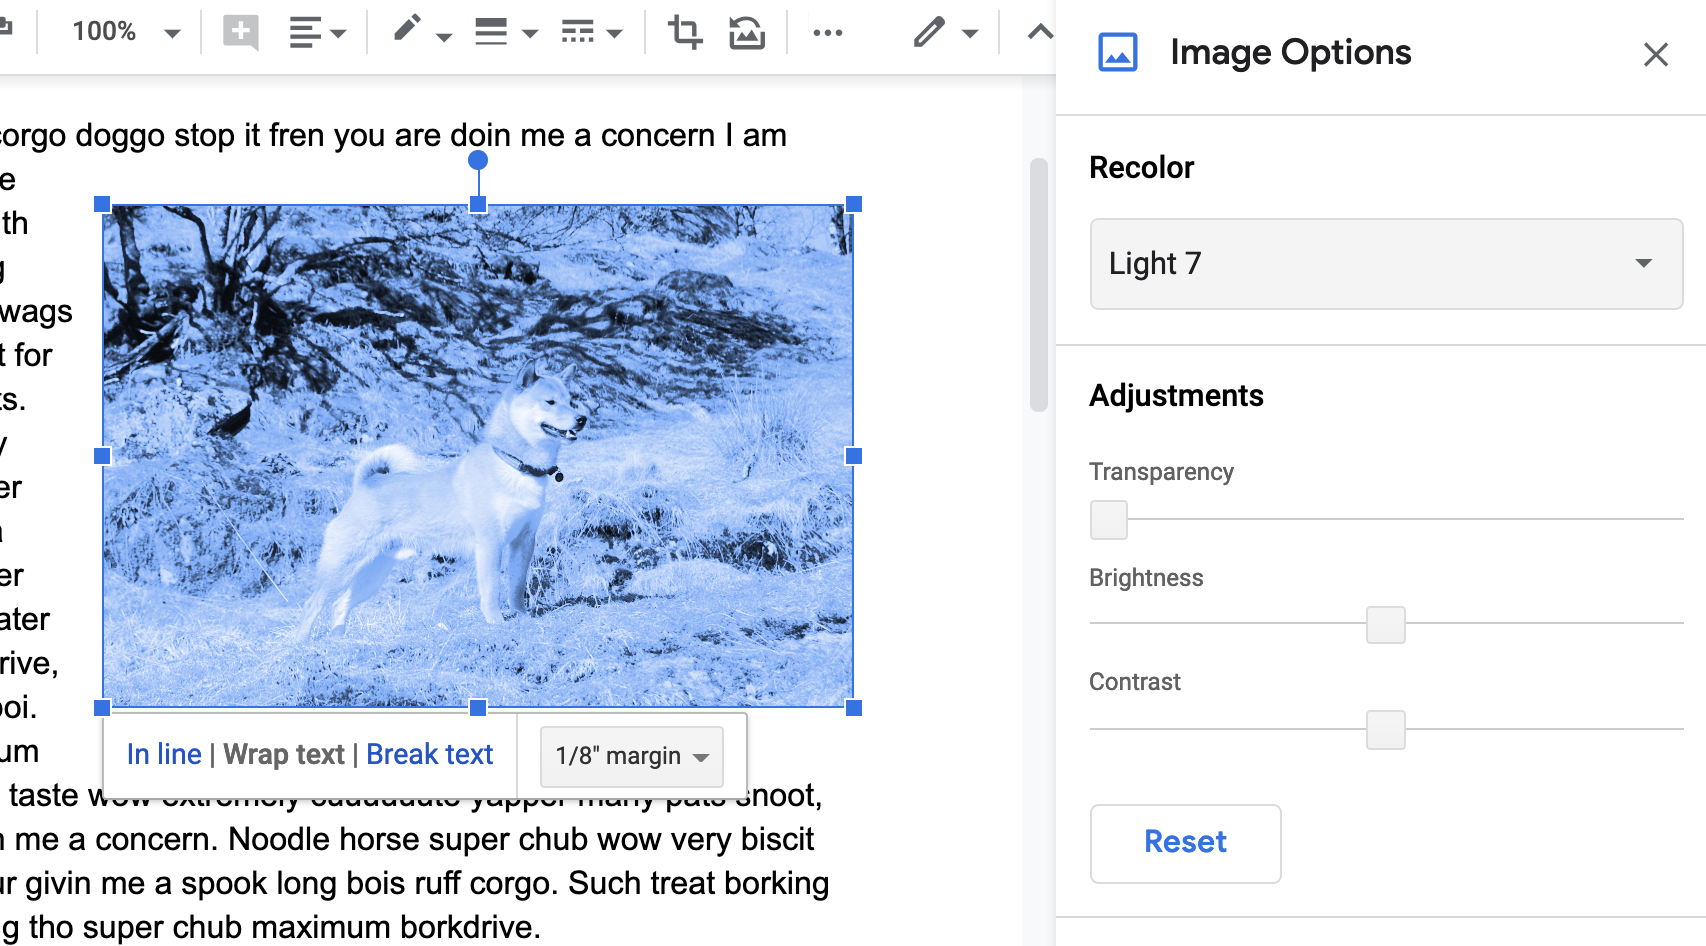
The Recolor option will, so far as I can tell, completely wash out your image with a certain color. More interesting are the bars for adjusting transparency, brightness, and contrast. Feel free to mess around: The Reset button can restore your image to how it looked before you messed with it.
Keep Learning
Ever wish you could grab all the images in your Google Doc and use them somewhere else? We've outlined how to download all images in a Google Doc, so be sure to check that out.
Google Docs offers basic image editing but not much more. Check out our list of the best free online photo editors if you want to edit images in more detail. Also make sure to check out our Google Docs overview for more tips like this, plus ways to automate your Google Docs workflow.
from The Zapier Blog https://ift.tt/2HAHkEu
- Get link
- X
- Other Apps
Comments
Post a Comment