Spreadsheets serve many purposes, from organizing budgets and project plans to managing email lists and new leads. Google Sheets already notifies users for spreadsheet changes, but the alerts can be pretty general. If you want to receive notifications for more specific changes, or better yet—send an email using the information in a spreadsheet—Zapier can help.
Here's how:
- Create your spreadsheet in Google Sheets and label your columns.
- Click the Use this Zap button below to use our template (it will prompt you to create a Zapier account if you haven't already).
- Sign in to Google Sheets when prompted and customize your trigger.
- Sign in to Gmail and customize the email in your action step.
- Test your Zap and turn it on.
We'll walk you through each step in this tutorial, using a spreadsheet of new leads as an example.
Zapier is a tool that helps you automate tasks between web apps. Our automatic workflows, which we call Zaps, send information from one app to another so you can stop worrying about copying and pasting and focus on more meaningful work. Check out this Zapier demo to learn more about how it works.
Before you begin
Create your spreadsheet in Google Sheets if you haven't yet. Make sure you have your columns labeled. This Zap will not work if your columns aren't labeled.
If you anticipate that the value in a cell will change between two values often—for example, if a cell value changes from yes to no, and then back to yes—it requires an extra step to make sure this Zap works. Set up a separate column where you can enter the timestamp when you make that change.
Note: You can quickly enter a timestamp while working in Google Sheets using the following keyboard shortcuts: Ctrl + Alt + Shift + ; to insert date and time on Windows machines; or Cmd + Alt + Shift + ; to insert date and time on a Mac. Using the formula =TODAY in Google Sheets will not trigger the Zap, because it changes automatically, rather than by manipulating other cells in the spreadsheet.
Connect and customize Google Sheets
Click the Use this Zap button above to get started. You'll need to set up a free Zapier account if you haven't already.
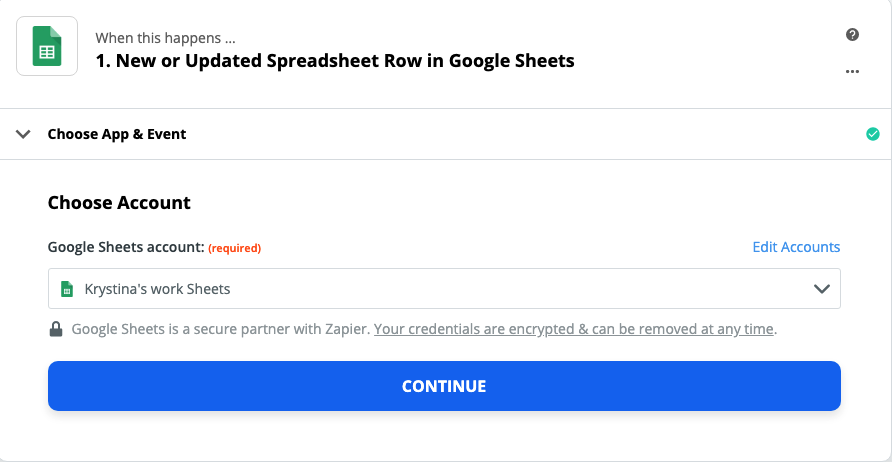
If you haven't connected Google Sheets before, you'll need to sign in to your Google account when prompted. Otherwise, select your Google Sheets account from the dropdown menu.
For each app you connect, Zapier will ask for a broad set of permissions, which allows you to be flexible with your Zaps. The only actions Zapier takes on your app accounts are those a given Zap needs to accomplish what you've set up.
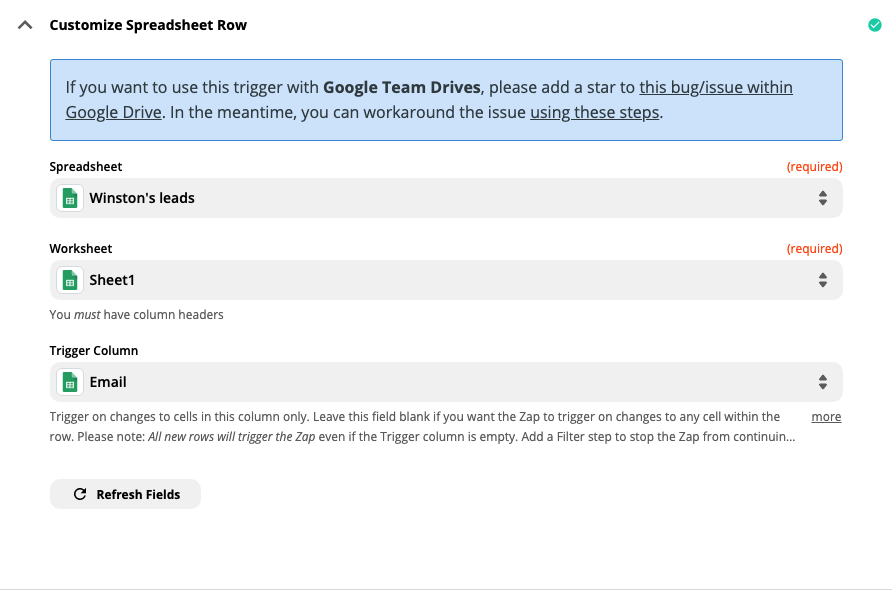
Next, you'll select the spreadsheet and specific worksheet you'd like to use. You'll need to choose the column where changes will tell your Zap to run. (In other words, whenever a cell in that column changes, Google Sheets will tell Zapier to kick off your workflow.) The column labels you created in your spreadsheet will populate the Trigger Column dropdown menu you see in the Zap Editor.
Note: If your trigger column is empty, the Zap will still trigger. Add a filter step—available on our paid plans—to stop the Zap from triggering on empty columns.
Once you've customized your trigger, click Continue.
Now it's time to test your trigger. Zapier will find a recent spreadsheet row in your Google Sheets account, according to the instructions you've customized in the previous step. If something doesn't look right, repeat the earlier step until you get the data you want. You'll use this information in later steps to customize your Zap.
When you're happy with your test data, click Continue
Connect and customize Gmail
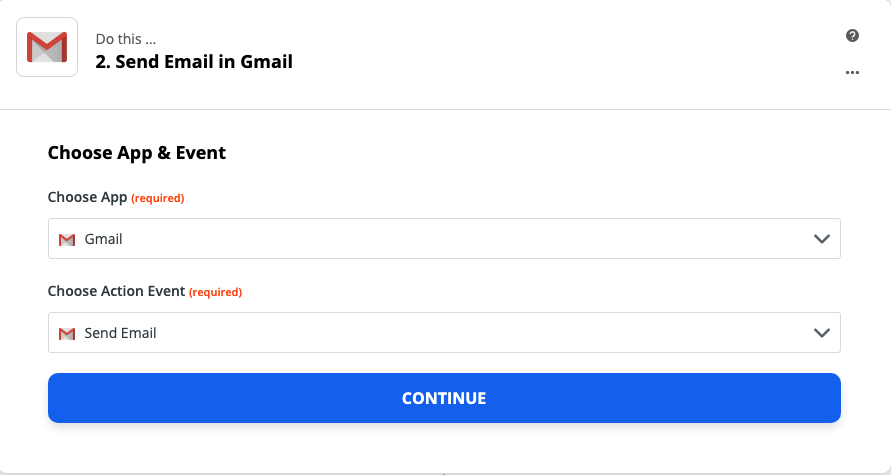
The Zap Editor will prompt you to choose your app and action event. Select Gmail as the app and Send Email as the action event. If you're using the Zap template above, this will already be filled for you. Click Continue.
Like you did with Google Sheets, sign in to your Gmail account if you haven't connected it to Zapier before. Otherwise, select your Gmail account from the dropdown menu.
Customize your email
Now you'll customize the email you'd like to send each time your Zap triggers. In this example, our spreadsheet is an email list, but you may be using this Zap to communicate spreadsheet changes to your team. The same principles apply.
Under the To field, click on Type or insert… to add your email recipients.
Since our spreadsheet is an email list, we want to use the Email column field as the recipient. It will act as a placeholder field; any time we add a new row to our spreadsheet with an email address, our Zap will email that address.
Following this method will dynamically populate the To: email address right from your spreadsheet. If you want the email to go to the same person or people every time, you'll want to manually type in the addresses instead of choosing from the dropdown in this step.
You can customize the fields for additional recipients, sender name, and a reply address if you'd like, but it's not required for the Zap to work. Under the Subject field, click on Type or insert. to either type in your subject (for something that will be the same each time) or use your spreadsheet fields if you'd like it to change based on information in the spreadsheet.
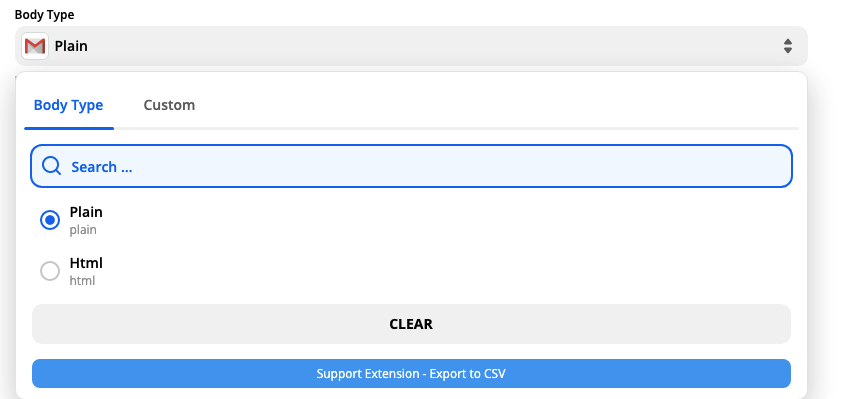
If you plan to include hyperlinked text or any special formatting in your email, you'll need to click on the dropdown menu under Body Type and select HTML. When you use HTML as the body type, you'll need to use HTML for hyperlinks and other formatting to show up in your email.
Type your email copy in the Body field. You can also use spreadsheet information n your email body copy. Just click inside the Body field to add whichever spreadsheet information you'd like. In our example, we have a list of names and emails in our spreadsheet, so we're using that to personalize our email message.
When you're finished customizing your email, click Continue.
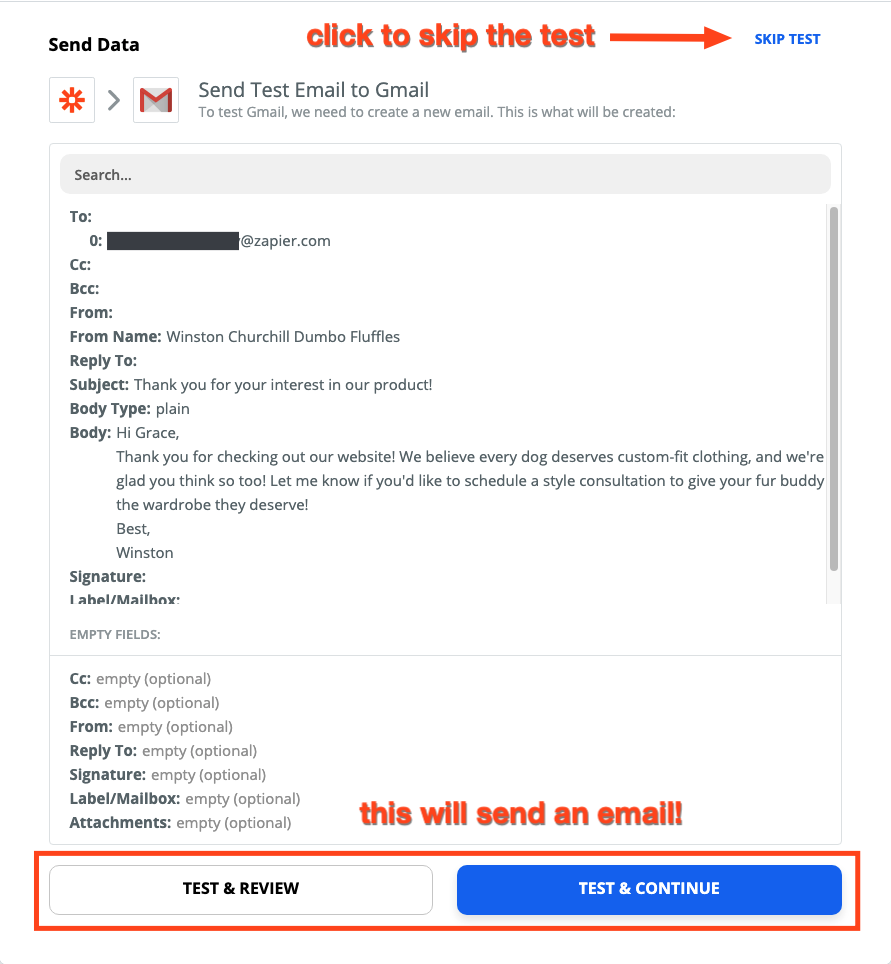
Test your Zap
When you click on any of the test buttons, Zapier will create a new email according to how you've customized your message in the previous step. This ensures your Zap is configured properly, and your email is showing up how you'd like. If you'd rather skip the test, click Skip test located at the top right-hand corner of the window.
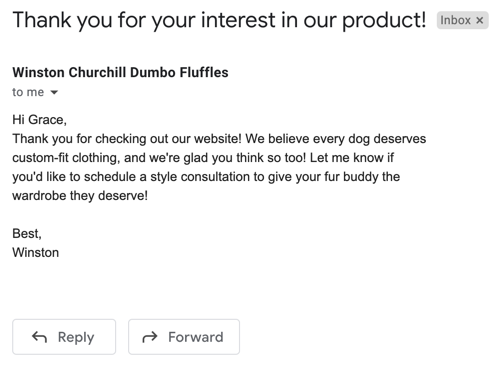
Testing the Zap will send the email. If you want to test your Zap but don't want to email a lead, for example, you can go back and change the recipient to a personal email and then try to test the Zap. Another option is to make sure you have a row of test data in your spreadsheet that includes your own email address, and use that information as you test your Zap.
If you're happy with the test, click on the slider to turn on your Zap! It can sometimes take a minute to turn on.
Now, whenever there's a new or updated row in that Google Sheet, Zapier will send an email from Gmail. Head to our Google Sheets to learn more or build your own integration with your favorite apps.
from The Zapier Blog https://ift.tt/3m7ISHQ


Comments
Post a Comment